What An Architect Does: Existing Drawings
Last month I talked about measuring existing houses, and up next is how that mess of sketchy lines and scribbled dimensions becomes a workable 3D model.
On this project I’m fairly luck because the building has a simple footprint and and a very clean basement which made getting an overall dimensions very easy.
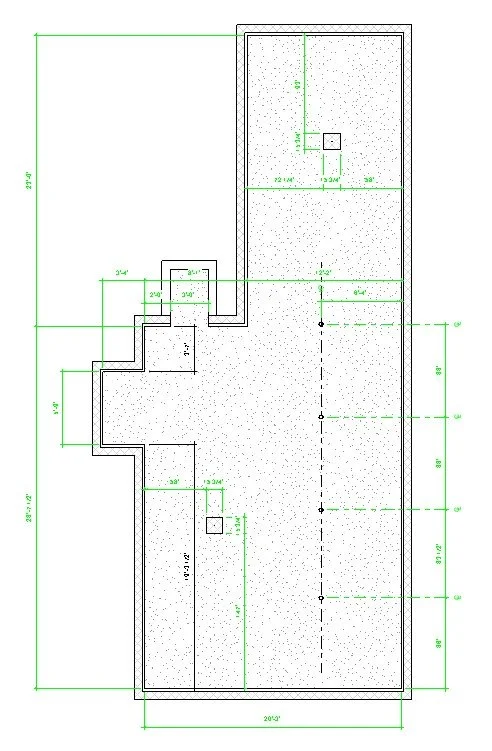
So I start by drawing the basement using the measurements I took to draw the inside faces of the walls and to locate columns and chimneys. I have to make an estimate on the foundation wall thickness based on what I can see of them, but I can also check that against the survey footprint and the measurement I took of the upper floors.
I draw the walls and floor and then add green dimension strings for the areas that I’m sure are correct and keep the ones I’m less sure of black. I’ll come back to those later.
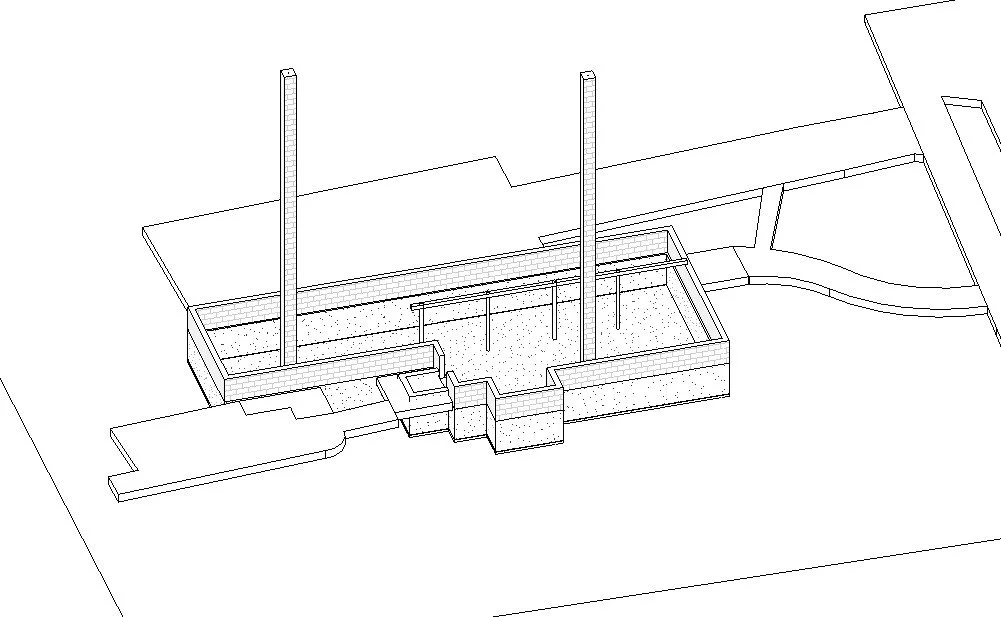
This work is happening in three-dimensions so it’s not long before I have a model like this, which shows the foundation walls in the right places, the beam and columns that I measured as well as chimney running through the building - I’ll adjust those heights later.
From there I move up to the first and second floors followed by the attic. I can overlay footprint of each floor so I can see if I’m going wrong someplace, but on this project things are lining up nicely.

Once I get to the attic level I add in the roof rafters and before long I have the general “mass” of the building in place, though it’s a long way from reflecting real life.
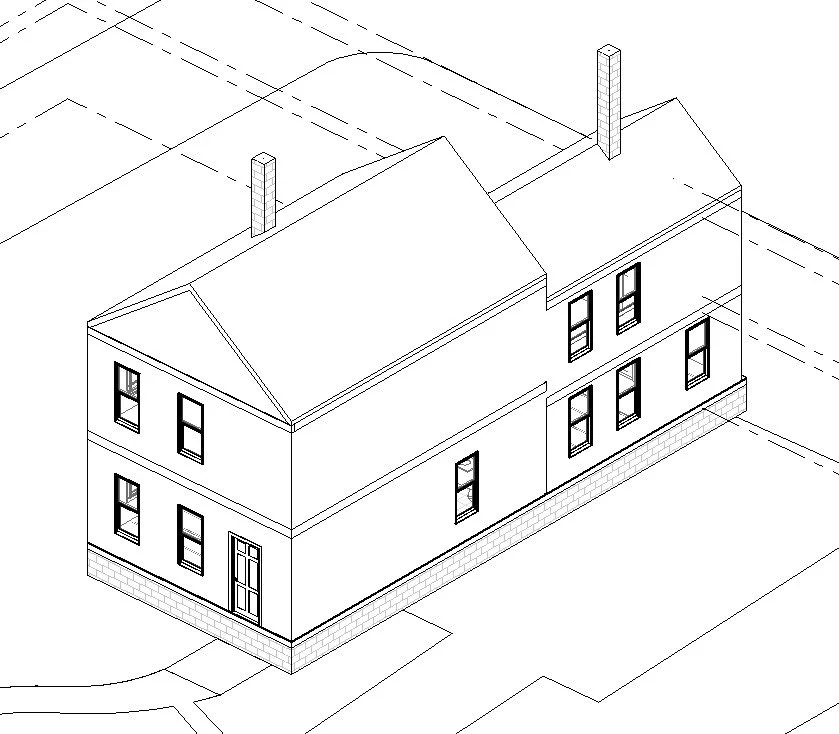
I start to add in windows, which are fortunately very regular on this house so that goes quickly. Now it’s time to add the exterior cladding.

I do that by adding a second layer of walls on the face of the walls I’d drawing earlier. I let the attic level wall run higher than they actually are so that I trim them in the next step.
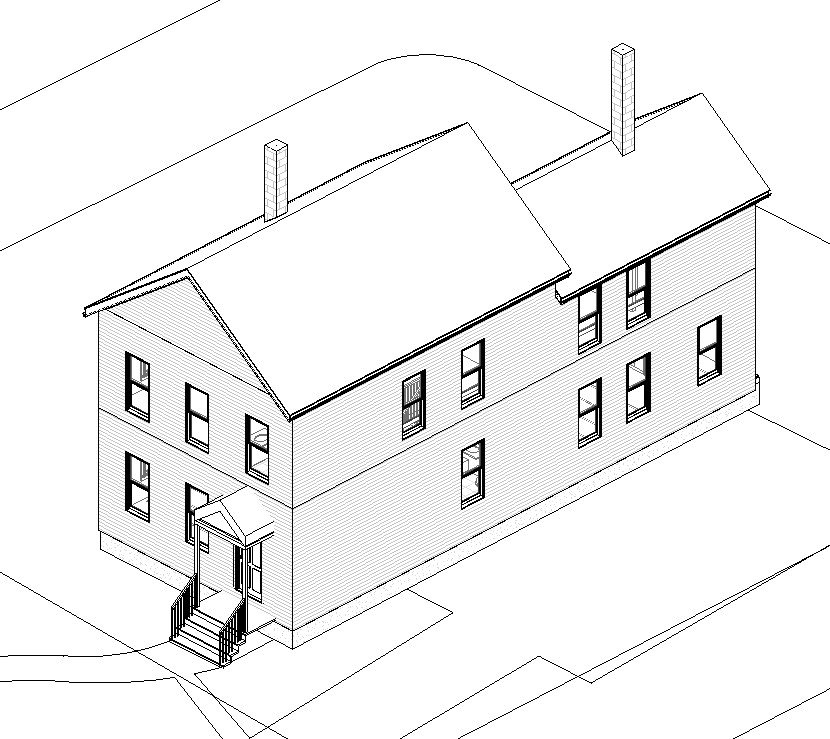
I add another of roofing on top of what I’ve modeled as roof rafters and using photos taken at the site I estimate the overhangs and edge details since I couldn’t reach them for detailed measurements. If I need more detail I will go back with a ladder for a closer look.
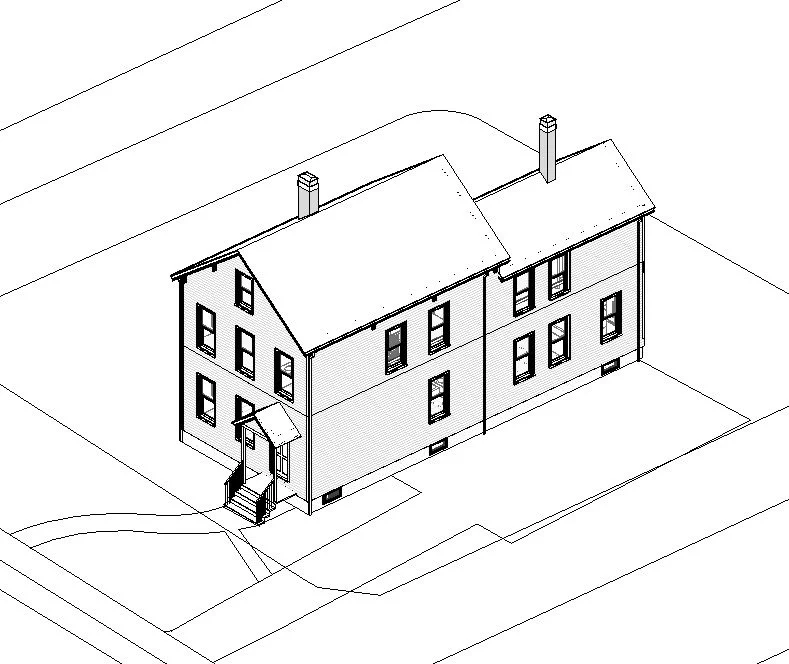
Lastly I add in door & window trim, correct the front porch roof, adjust the chimney heights, add in gutters and downspouts and some decorative brackets that I observed on site and I’m about ready to go into the schematic design phase. To be clear, this model isn’t a 100% perfect reflection of reality, it’s actually a work in progress that will continue to be updated throughout the design process, which is always the case in a renovation/addition project. We’re constantly learning new things about the buildings we’re working on and updating the drawings to reflect that. However, what I have at this point is enough to confidently begin exploring what the options are.